

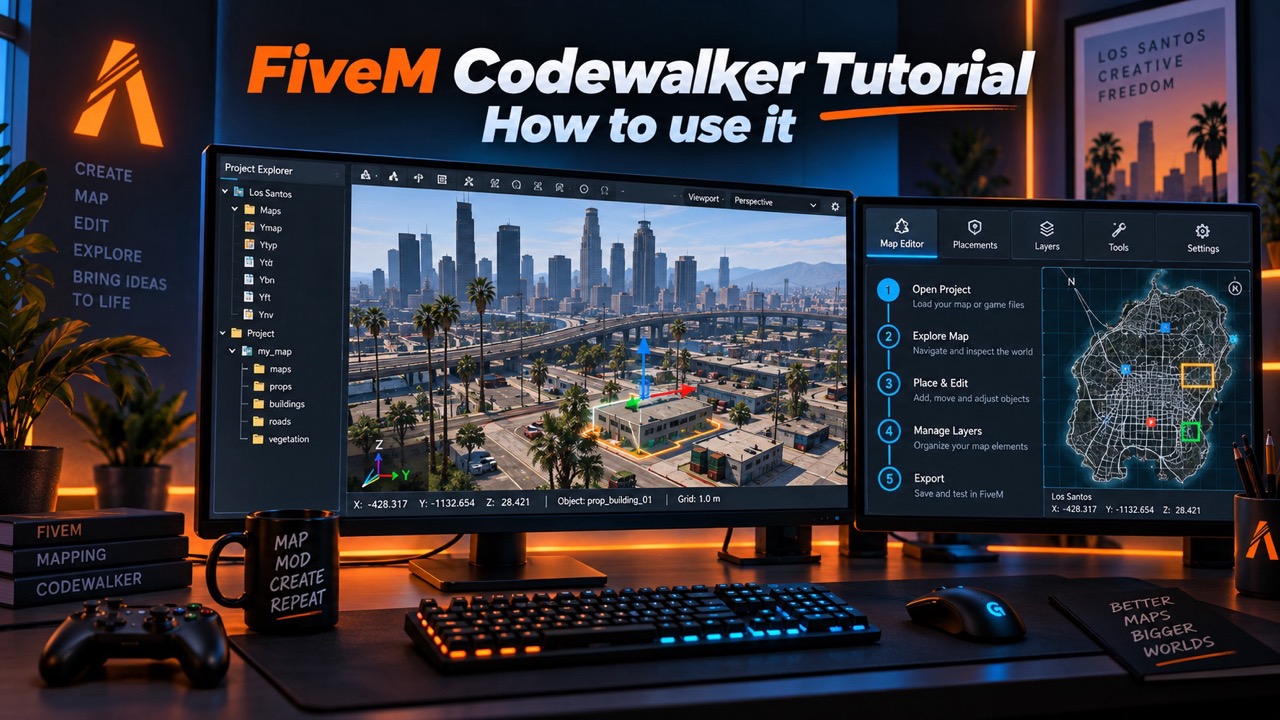
CodeWalker lets you explore GTA V’s world, inspect game assets and edit map data for your FiveM projects. Created by dexyfex, it combines a 3D world viewer with archive browsing and map-editing tools. Start with the author’s CodeWalker download page, not a repacked executable from an unrelated website. (GTA5-Mods)
For a first project, keep the goal small: place one existing object in a new map, package it as a FiveM resource and confirm that it appears correctly in game. That gives you a working process before you take on custom buildings, interiors or changes to the original map.
This guide covers downloading CodeWalker, configuring it, creating your first YMAP and testing the result.
Download CodeWalker from the right source
There are three useful starting points, with different purposes:
| Source | What to use it for |
|---|---|
| CodeWalker on GTA5-Mods | The author’s published download and links to the project’s community |
| Official CodeWalker GitHub repository | Source code, documentation and issue tracking |
| Official CodeWalker Discord, linked from the author’s page | Development builds and release-specific instructions |
The official Cfx.re tooling guide directs users to the CodeWalker Discord’s #releases channel. Follow the invitation from the author’s page or Cfx.re documentation rather than an unsolicited message offering a download. (GTA5-Mods)
A GitHub source ZIP is not the same as a ready-to-run application. The repository is useful for developers, but downloading its source does not give a beginner the same installation package as a compiled release. Use the author-provided build for this tutorial. (GitHub)
Keep the downloaded archive and record the build you install. When a tutorial’s interface differs from yours, check its build before assuming that a feature has disappeared.
Check requirements and your target GTA edition
CodeWalker’s repository lists a PC installation of GTA V, a 64-bit Windows environment and DirectX 11/Shader Model 4.0-capable graphics among its requirements. (GitHub)
Pay particular attention to the runtime. Older descriptions mention earlier .NET Framework versions, while the current source project targets .NET Framework 4.8. Follow the requirements supplied with your downloaded build; Microsoft provides the official .NET Framework 4.8 runtime download. (GitHub)
Before working on assets, also decide whether the project targets GTA V Legacy or GTA V Enhanced. Use a CodeWalker build that supports the installation you are opening, and keep that target consistent throughout your workflow.
Cfx.re provides an Enhanced onboarding guide and the Alchemist conversion tool for relevant Legacy assets. Do not assume that a Legacy package becomes Enhanced-compatible merely because CodeWalker can display it. (Cfx Documentation)
For projects supporting both editions, keep separate output folders and test each package on its intended server and client.
Set up CodeWalker and load GTA V
Extract the complete application archive into a dedicated tools folder, for example:
C:\Tools\CodeWalker\
Run CodeWalker.exe from the extracted folder. On first launch, select the root of your GTA V installation when prompted—not your FiveM application folder or a server resource directory. Allow the initial loading process to finish before starting an edit. These are the startup steps described in Cfx.re’s asset tutorials. (Cfx Documentation)
Once the world appears, check the DLC settings in the right-hand panel. Cfx.re’s tutorial enables DLCs and selects the latest available level for its example; for your project, account for the game content available on the target server rather than copying an old tutorial’s patch setting blindly. (Cfx Documentation)
Keep your original game archives out of the editing workflow wherever possible. For the first exercise below, save your new map into a separate project folder.
Understand the files before editing them
A map project is usually a collection of files with different jobs.
| File | What it contains |
|---|---|
.cwproj | CodeWalker project information and references to working files |
.rpf | An archive containing GTA V assets and data |
.ymap | Map data, including placements of entities in the world |
.ytyp | Archetype definitions describing objects that can be placed |
.ydr | A drawable: a model and associated rendering data |
.ytd | A texture dictionary |
.ybn | Collision and bounds data |
These distinctions are described in CodeWalker’s documentation and project implementation. (GitHub)
The distinction to remember is definition versus placement: a YTYP describes an archetype, while a YMAP can place an instance of it.
An MLO adds an interior structure, including room and portal information; it is not simply another name for a YMAP. An interior workflow can use both file types. Our MLO vs YMAP guide explains the relationship, while the Sollumz interior documentation shows how those definitions are constructed.
Navigate World View and inspect objects
Use WASD to move around, left-click and drag to look around, and the mouse wheel to adjust movement speed. Expand the right-side panel and press T to open the main toolbar. (Cfx Documentation)
Enable entity selection, then right-click an object to inspect it. Use the toolbar’s move, rotate and scale controls when editing; these are easier to follow initially than shortcuts whose behavior changes with editing mode. (GitHub)
Before moving anything, inspect a few existing objects. Copy an object’s archetype name and note its position. Cfx.re’s asset exploration tutorial also explains how to find the corresponding model in RPF Explorer. (Cfx Documentation)
For now, inspect the original object without changing it. You will create a separate placement in your own YMAP.
Create a project you can recover
Use a workspace that keeps editable files separate from the package you deploy. For example:
rpcrate_map_test/
├── source/
│   ├── rpcrate_map_test.cwproj
│   └── rpcrate_map_test.ymap
├── build/
│   └── rpcrate_map_test/
│       ├── fxmanifest.lua
│       └── stream/
└── backups/
Open the Project Window, create a project and save it in source/ before adding your map files.
Back up the whole source folder, not just the .cwproj. CodeWalker projects reference files by path; the project file is not a self-contained archive containing every asset. (GitHub)
Use build/ for the resource you intend to test. Copy saved outputs into it deliberately, rather than using the live server’s stream folder as your only working directory.
Before a substantial edit, create a dated backup or a version-control checkpoint. Record the CodeWalker build and target GTA edition alongside the project.
Create your first YMAP in CodeWalker
Choose a simple static object, such as a bench or a small piece of street furniture. Place it in an open area where you can easily find and inspect it.
Avoid beginning with an entire building replacement. The first exercise should answer one question: can you take a placement from CodeWalker into a working FiveM resource?
1. Add a new YMAP and entity
In the Project Window, choose File → New → Ymap File.
Select the new YMAP, then choose Ymap → New Entity. Set the entity’s Archetype to the object name you inspected earlier. This is the basic creation process documented in Cfx.re’s map-placement tutorial. (Cfx Documentation)
Use a distinctive map name, such as rpcrate_map_test, rather than reusing the name of an existing game map.
2. Position the object
Move and rotate the new entity into place. For this exercise, leave its scale unchanged and record the coordinates.
Check that you are editing the entity inside your new YMAP, not the original object you inspected.
Keep the first map to one placement. Once it works in game, add the rest of your scene in small groups.
3. Calculate and save
Select the YMAP and run Calculate Extents and Calculate All Flags. Save the map as rpcrate_map_test.ymap, then save the project.
The Cfx.re and Sollumz workflows both include calculating the map’s flags and extents before deployment. Repeat that step after further placement changes. (Cfx Documentation)
4. Generate the map manifest
In the Project Window, use Tools → Manifest Generator, generate the manifest and save the resulting _manifest.ymf using your build’s export workflow. Include it with the map’s streamed files. Both official tutorials include this generation step. (Cfx Documentation)
_manifest.ymf and fxmanifest.lua are different files. The generated file belongs to the map asset workflow; fxmanifest.lua describes the FiveM resource. You will create that next. (Cfx Documentation)
Package the map as a FiveM resource
For this exercise, arrange the exported resource like this:
resources/
└── [maps]/
    └── rpcrate_map_test/
        ├── fxmanifest.lua
        └── stream/
            ├── rpcrate_map_test.ymap
            └── _manifest.ymf
Create fxmanifest.lua with:
fx_version 'cerulean'
game 'gta5'

this_is_a_map 'yes'
This follows the basic map-resource structure documented by Cfx.re. The this_is_a_map declaration identifies the resource as a map and triggers map-storage reloading when it loads. (Cfx Documentation)
For a walkthrough of manifest syntax, see our FiveM fxmanifest.lua guide.
Add a YTYP only when the project uses one
For custom archetypes, include your exported YTYP and the required custom assets. Register the YTYP explicitly in the manifest, using its actual filename:
files {
    'stream/rpcrate_map_test.ytyp'
}

data_file 'DLC_ITYP_REQUEST' 'stream/rpcrate_map_test.ytyp'
The data_file declaration and DLC_ITYP_REQUEST type are covered by Cfx.re’s resource and data-file references. Do not copy this example unchanged when your file has a different name. (Cfx Documentation)
A placement using an existing, available game archetype is different from introducing a custom one. Do not create an empty YTYP merely to match a folder example.
Keep source files out of the deployed package
Retain the .cwproj, Blender projects and backups in your workspace. Deploy the files required by the resource, not the entire working folder.
There is one useful format distinction: Cfx.re documents support for XML-format YMAP and YTYP files when named with the appropriate .ymap or .ytyp extension. It also warns that the game parser can behave differently from CodeWalker’s parser. That is a specific supported path—not a general rule that renaming any XML asset converts it into a game file. (Cfx Documentation)
For the first exercise, use CodeWalker’s saved map output consistently rather than mixing export methods.
Load the resource and test it in FiveM
Use an isolated test server, with unrelated maps affecting the same location disabled.
After copying the resource into the server’s resources directory, run these commands in the server console:
refresh
ensure rpcrate_map_test
refresh rescans the resources directory. ensure starts the named resource when stopped, or restarts it when already running. These are server commands, not instructions to paste into the player’s F8 console. (Cfx Documentation)
For subsequent server starts, add this to the relevant configuration:
ensure rpcrate_map_test
For later test builds, copy the updated files and restart the intended resource. The official server command reference explains the available start, stop and restart commands. (Cfx Documentation)
Check more than whether the object appears
Use this acceptance test before expanding the map:
- Placement: Visit the recorded coordinates. Check position, rotation and alignment from several angles.
- Collision: Walk around and into the object where appropriate. Check for unexpected barriers or missing collision.
- Streaming: Leave the area and approach again. Repeat from another direction, then reconnect.
- Isolation: Stop the test resource, confirm the expected change, then enable it again. Check client and server logs for errors.
For a larger scene, repeat the same driving or walking route with the resource enabled and disabled. Keep weather, camera position and other conditions as similar as possible.
Save this first working package as your baseline.
Edit an existing map without losing track of the changes
Creating an additional placement and modifying the original world are different tasks.
When the Project Window is open, editing an existing world entity can add its owning YMAP to the project. That may be a much larger file than the single object you intended to change. Inspect the project tree before saving. (GitHub)
Before editing an existing map, record its filename, source location and intended purpose. Work on a recoverable copy, and review which files your final resource will replace or depend on.
Do not assume that removing a visible object removes every associated component. World collision can live in separate YBN files, while distant representations may belong to an LOD hierarchy. Those require their own inspection and changes. (Cfx Documentation)
For a first project, avoid modifying unrelated objects just because they appear in the same YMAP.
Use Blender and Sollumz for custom models and MLOs
Placing existing assets is one workflow. Creating a new building or reshaping an interior requires modelling and export work as well.
Cfx.re’s asset series uses Blender with Sollumz alongside CodeWalker. Follow the Sollumz documentation for a compatible installation and the appropriate asset-export workflow. (docs.fivem.net)
For an MLO, the model is only part of the job. You also need to define the interior’s archetype, rooms, portal connections and entity assignments, then place the interior in the world. Those relationships are described in the Sollumz interior tutorials.
Start with one small room and one entrance. Test the floor, walls and doorway before adding decorative detail. Then check visibility while entering, leaving and looking through the doorway from both sides.
Our FiveM MLO creation guide covers the wider modelling, collision, packaging and validation process.
Troubleshoot common CodeWalker and map problems
CodeWalker cannot find GTA V or the world stays blank
Recheck the selected installation root, target edition and downloaded build. Confirm that you extracted the complete application package.
Allow initial loading to finish, then investigate any actual error message. For missing DLC content or unresolved asset names, revisit the DLC and nametable steps in Cfx.re’s CodeWalker setup guide. (Cfx Documentation)
The edit exists in CodeWalker but not in the exported resource
Trace the file through the workflow: the YMAP referenced by the project, its saved location, the copy in build/, and the copy on the test server.
Compare filenames, modification times and file sizes. For an exact comparison, compare file hashes. Do not assume that saving the project copied the latest map into the server resource.
The server still shows the previous version
Confirm that the updated files reached the correct resource directory and that you restarted the intended resource. Check for another enabled resource containing an overlapping map.
Test a fresh connection after the restart. Avoid changing files, clearing caches and disabling several resources simultaneously; you need to know which action changes the result.
Objects disappear at a distance
Review the relevant LOD setup, map hierarchy and streaming information before increasing every distance value.
Cfx.re’s LOD tutorial explains the relationship between detailed models, simplified versions and their YMAP hierarchy. Check those relationships against your project rather than treating disappearance as a single-setting problem. (Cfx Documentation)
An invisible wall remains, or the player falls through a surface
Inspect collision separately from visible geometry. Cfx.re documents both world collision files and collision embedded in models. Check that the required collision exists, loads and aligns with the placed asset. (Cfx Documentation)
Our FiveM invisible wall troubleshooting guide provides a focused workflow for unexpected barriers.
CodeWalker crashes during an edit
The author describes CodeWalker as a work in progress and warns that crashes can occur. (GitHub)
Reopen the last known-good project and repeat the smallest change that reproduces the failure. Record the build, target edition, affected file and error message. Keep recovery work separate from the original backup.
Finish the first map before making it larger
Your first milestone is a saved project and a small resource that loads correctly, survives a reconnect and can be removed without disturbing other maps.
Keep that working version. Add the next object, custom asset or interior feature, then repeat the same test.
A reliable CodeWalker workflow means knowing which file you changed, which file you deployed and how to restore the previous version.